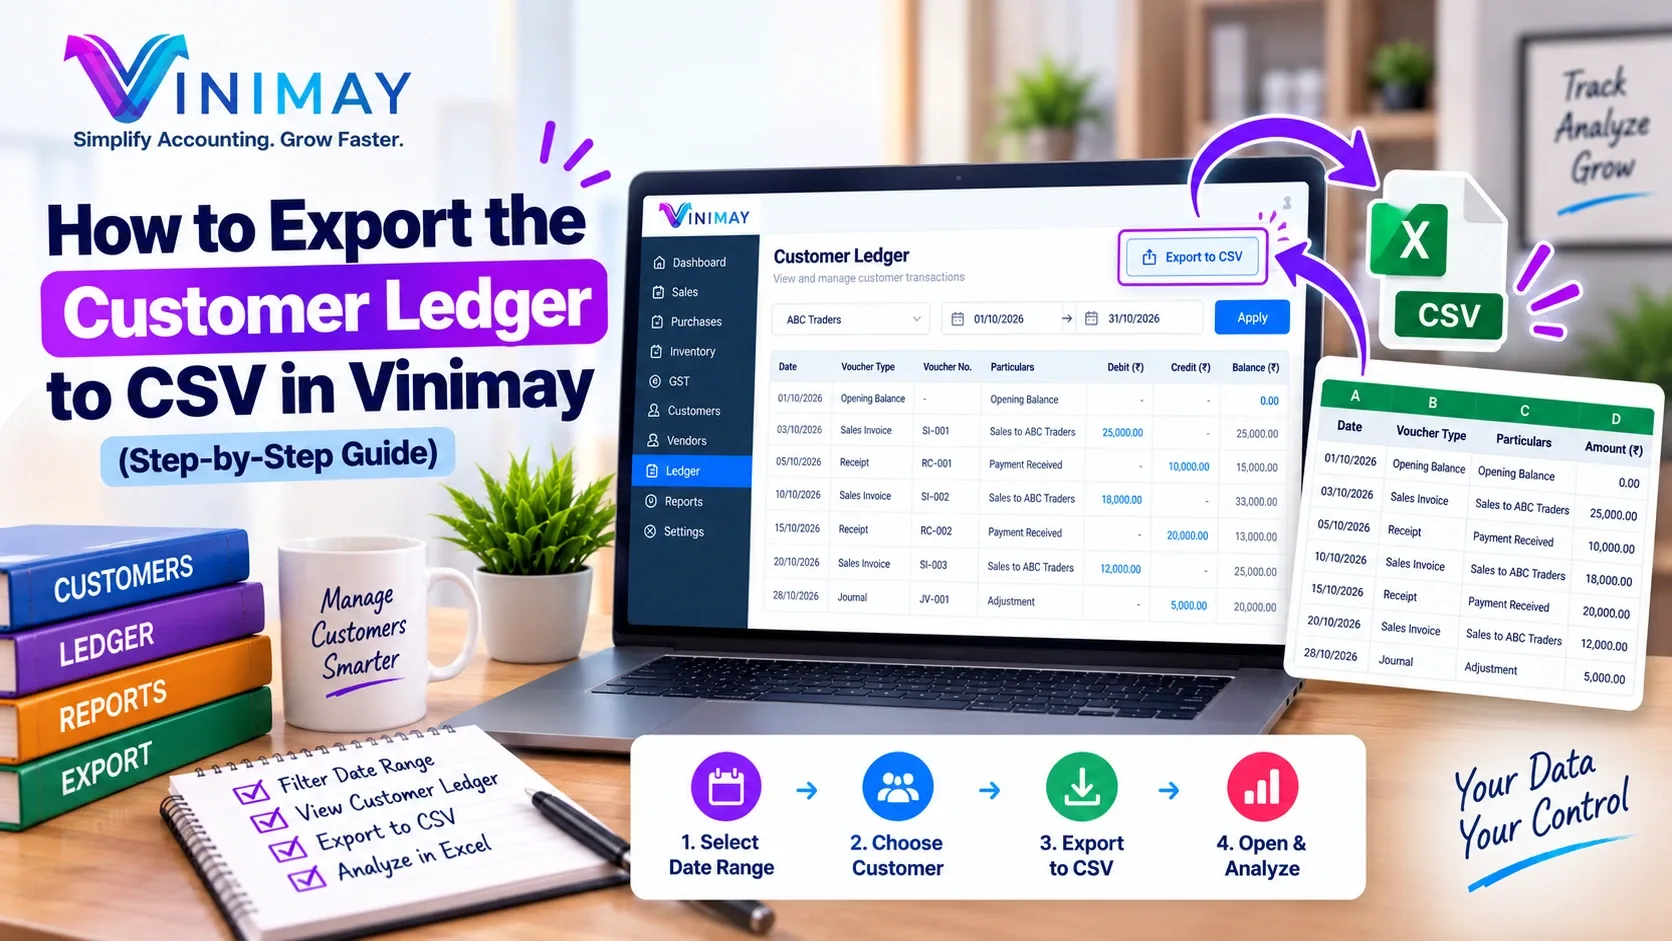
Vinimay allows you to manage staff access from the Users section. If an employee leaves the organisation or should no longer access the account, you can remove or deactivate their user access.
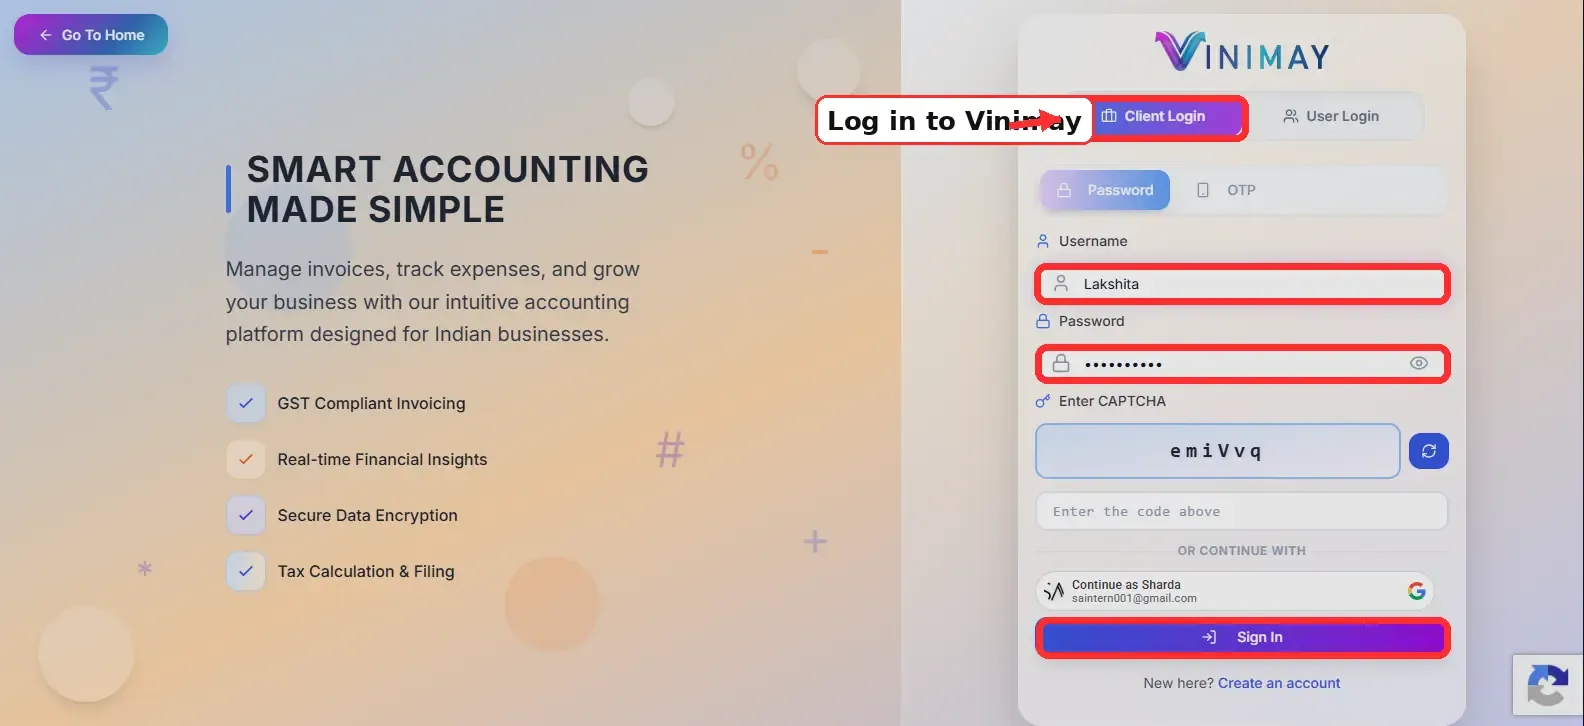
Step 1: Log in to Vinimay.
Open Vinimay and sign in using your client login or an account that has permission to manage users.
After login, you will reach the main dashboard.
Make sure you use your client account or an authorised administrator account that has permission to manage users. After entering your details, click the login button to access your account.
Step 2: Open the Users Section
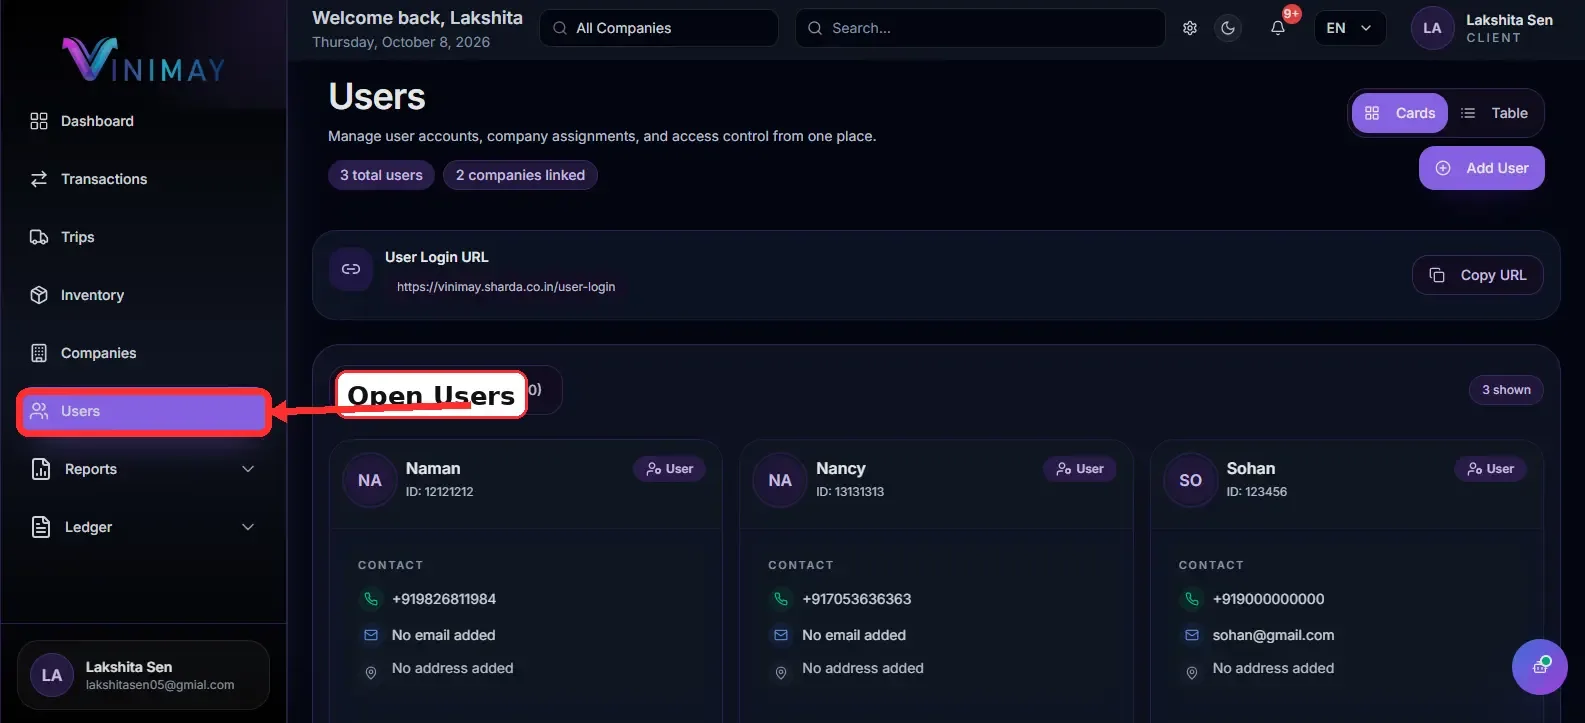
From the left-side menu, click on Users.
The Users page will show all staff accounts currently added to your Vinimay account.
On the Users page, you can view the staff accounts added to your Vinimay account. Depending on your access permissions, the page may display details such as usernames, user roles, account status, and available management options.
Step 3: Find the User
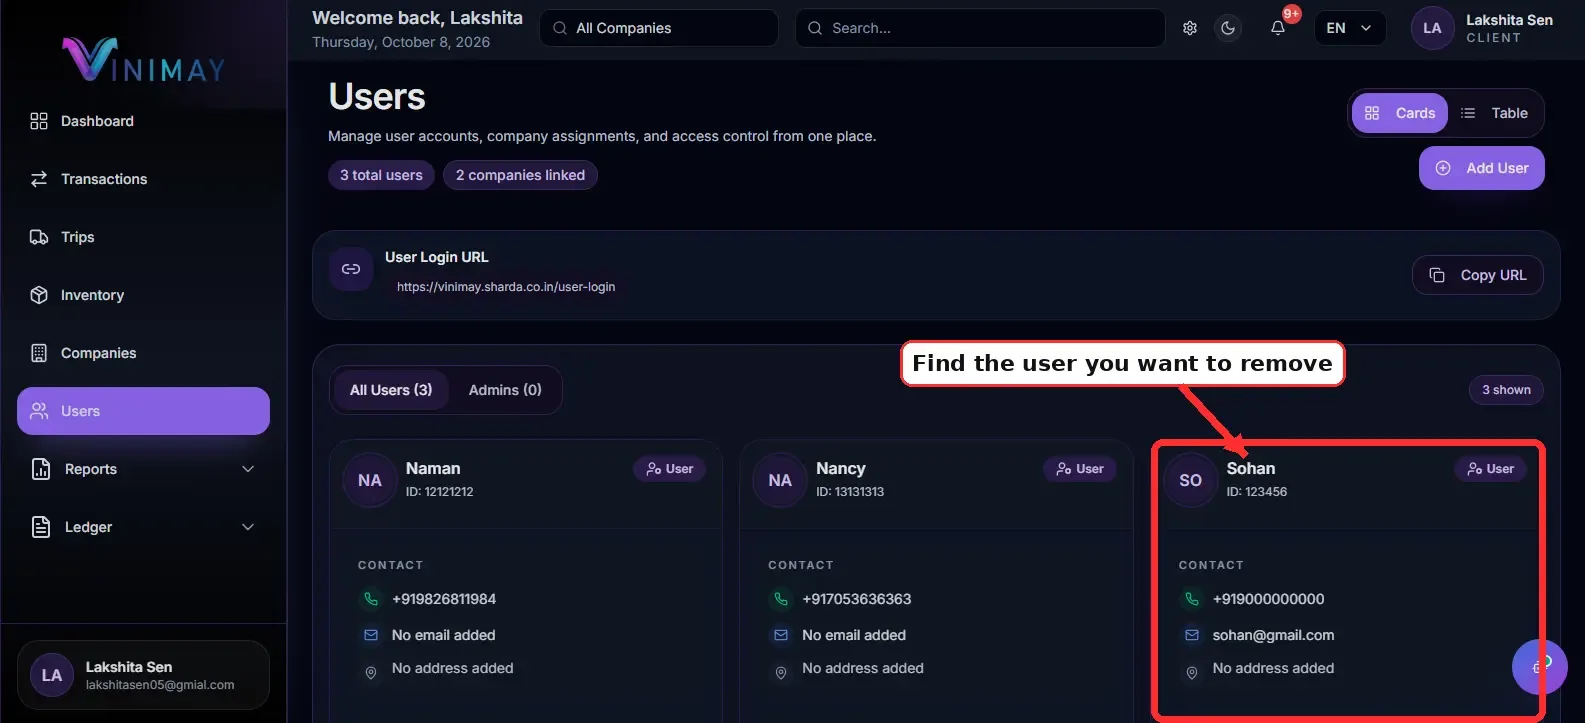
Search for or locate the staff member whose access you want to remove or deactivate.
Check the user name, user ID, and assigned company to make sure you are selecting the correct account.
Step 4: Deactivate or Remove Access
If you only want to stop the user from logging in temporarily, choose Deactivate if that option is available.
If the user should be permanently removed, choose Remove/Delete User.
Before confirming, make sure the user no longer needs access to any assigned company or business data.
Before proceeding, verify that you have selected the correct staff member. Check whether the user has access to company records, customer details, sales information, or other business data that may need to be reassigned.
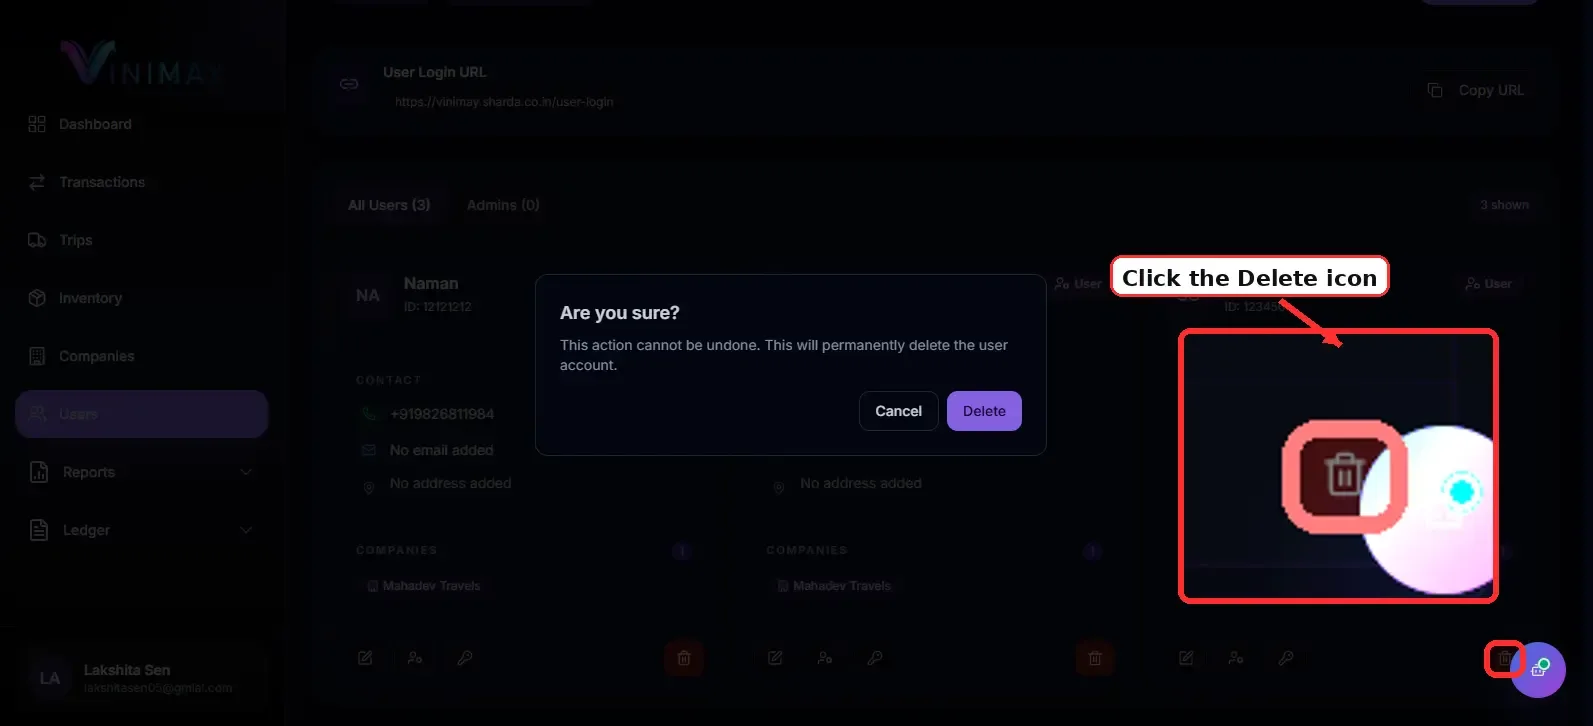
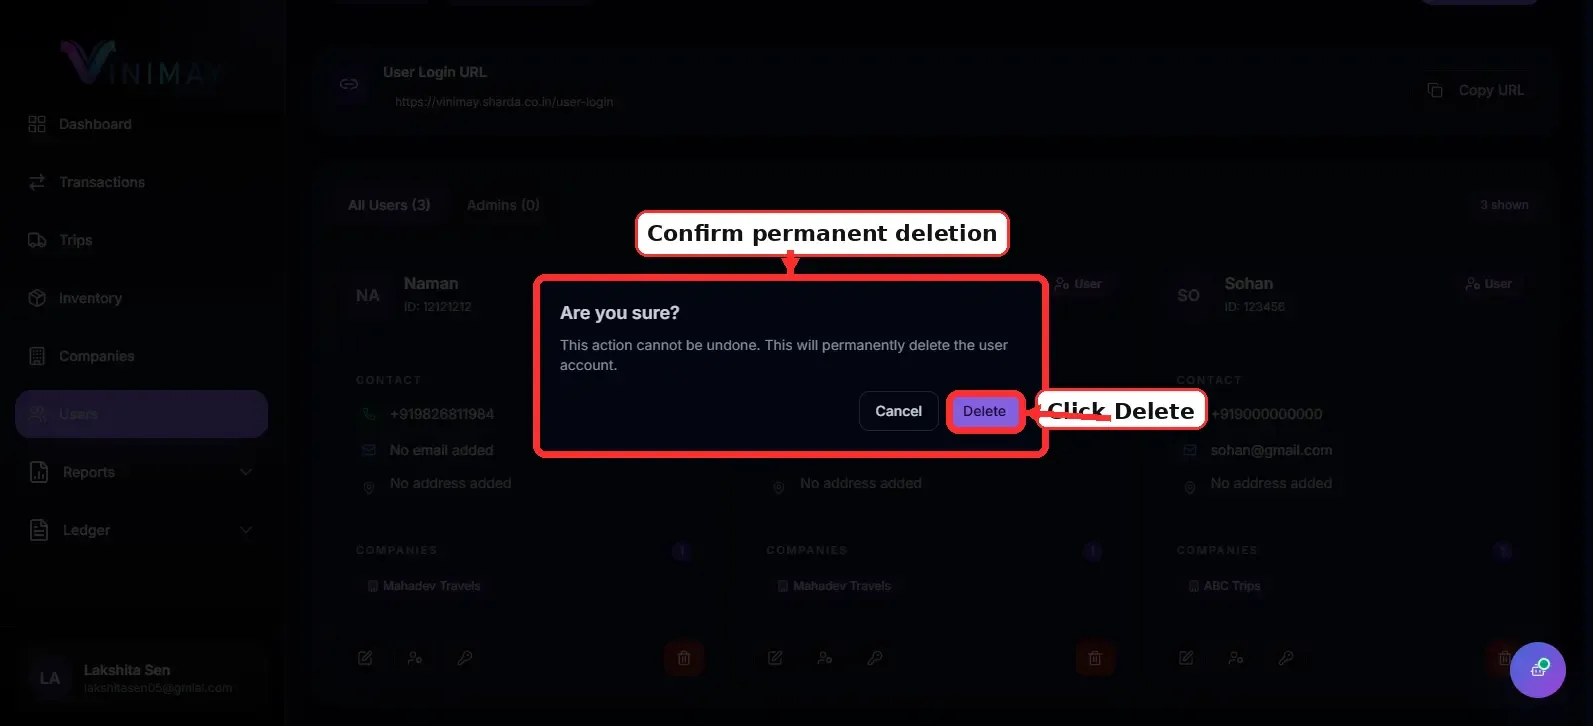
Step 5: Confirm the Action
Vinimay may ask you to confirm the change.
Click Confirm, Deactivate, Delete, or the available confirmation button.
The user’s access will then be updated.
Quick Path
Login → Users → Select User → Open User Actions → Deactivate/Remove → Confirm → Verify
Deactivating a user is usually safer when you want to keep their historical records, while removing a user may be better when the account is no longer required.
Related Topics
Published by Team Vinimay
Our editorial and compliance specialists create practical guides, tax calculation rules, and operational strategies to empower Indian small business owners and accountants.